Tenkara Masterclass / Episode 3
The Right Way to Rig for Your Conditions
- 11 min
- Taught by Pat Jaeger
- With Fish the West Films
-
Link copied to clipboard
- Watch on YouTube
- Subscribe on YouTube
How should you rig a Tenkara rod for different fishing conditions?
In Episode 3 of the Tenkara Master Class, Pat Jaeger breaks Tenkara rigging down into a simple system built around one thing: where the trout are feeding. Pat approaches the water in three zones — surface, slightly subsurface, and deep — and shows you how to adjust your rig to put the fly where the fish actually are.
In this episode, you’ll learn how to rig and fish:
Dry Fly — when trout are actively feeding on the surface
Dry Dropper — when fish are feeding just below the surface or in shallower water
Nymph Rig — when trout are holding deep and you need to get your fly down into the zone
Pat also covers how he chooses flies using his size, shape, color formula, how he selects tippet, adds weight, determines depth, uses indicators, and makes adjustments based on what the water and the fish are telling him. The goal isn’t to make Tenkara complicated. It’s to understand where the fish are and build the simplest rig that gets your fly in front of them.
Read the full transcript
EASY TENKARA RIGGING: DRY FLY, DRY-DROPPER, AND NYMPHING
INTRODUCTION
I'm a Western fly fishing guide. All I'm doing is integrating it into a tenkara rod. Something real easy. Let me show you some really, really easy rigging.
THE THREE ZONES
You want to think of these fish in three zones. They're feeding on the surface, they're feeding slightly subsurface, or they're feeding on the bottom. Just three. That's it.
STEP ONE: THE DRY FLY
We're going to go neck to hand. What is a dry fly? A dry fly is designed to float on the surface. When we see something floating on the surface and a mouth go around it, that's our time to use a dry fly.
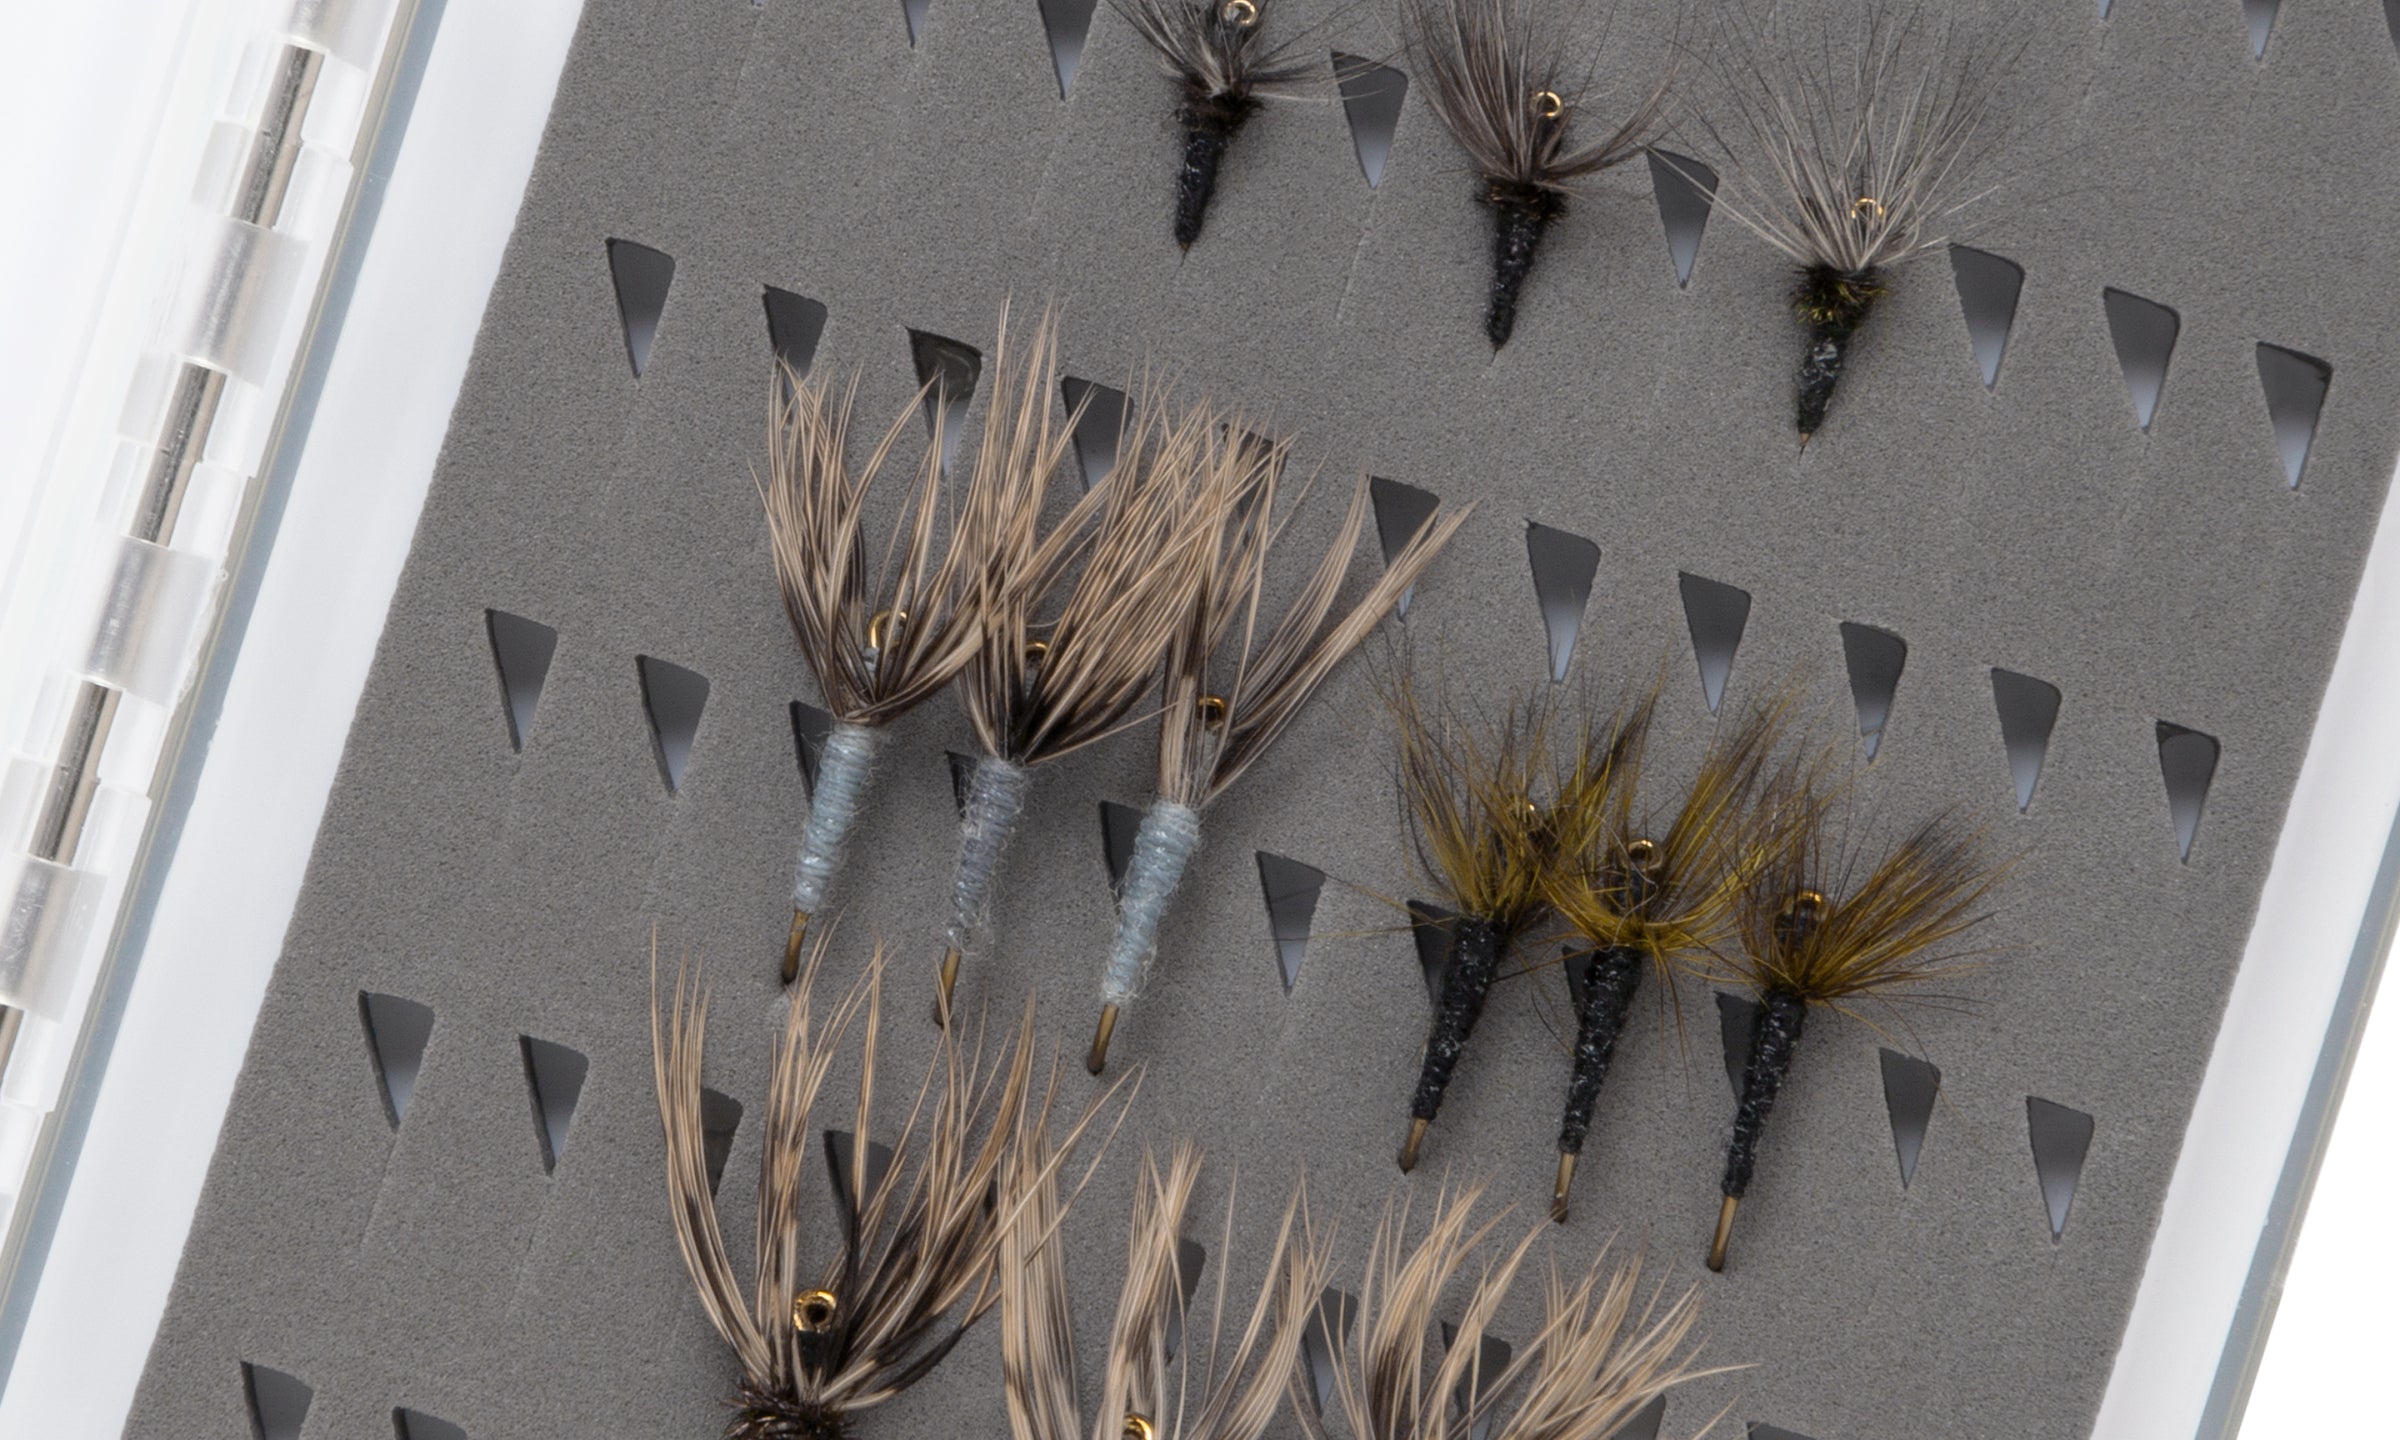
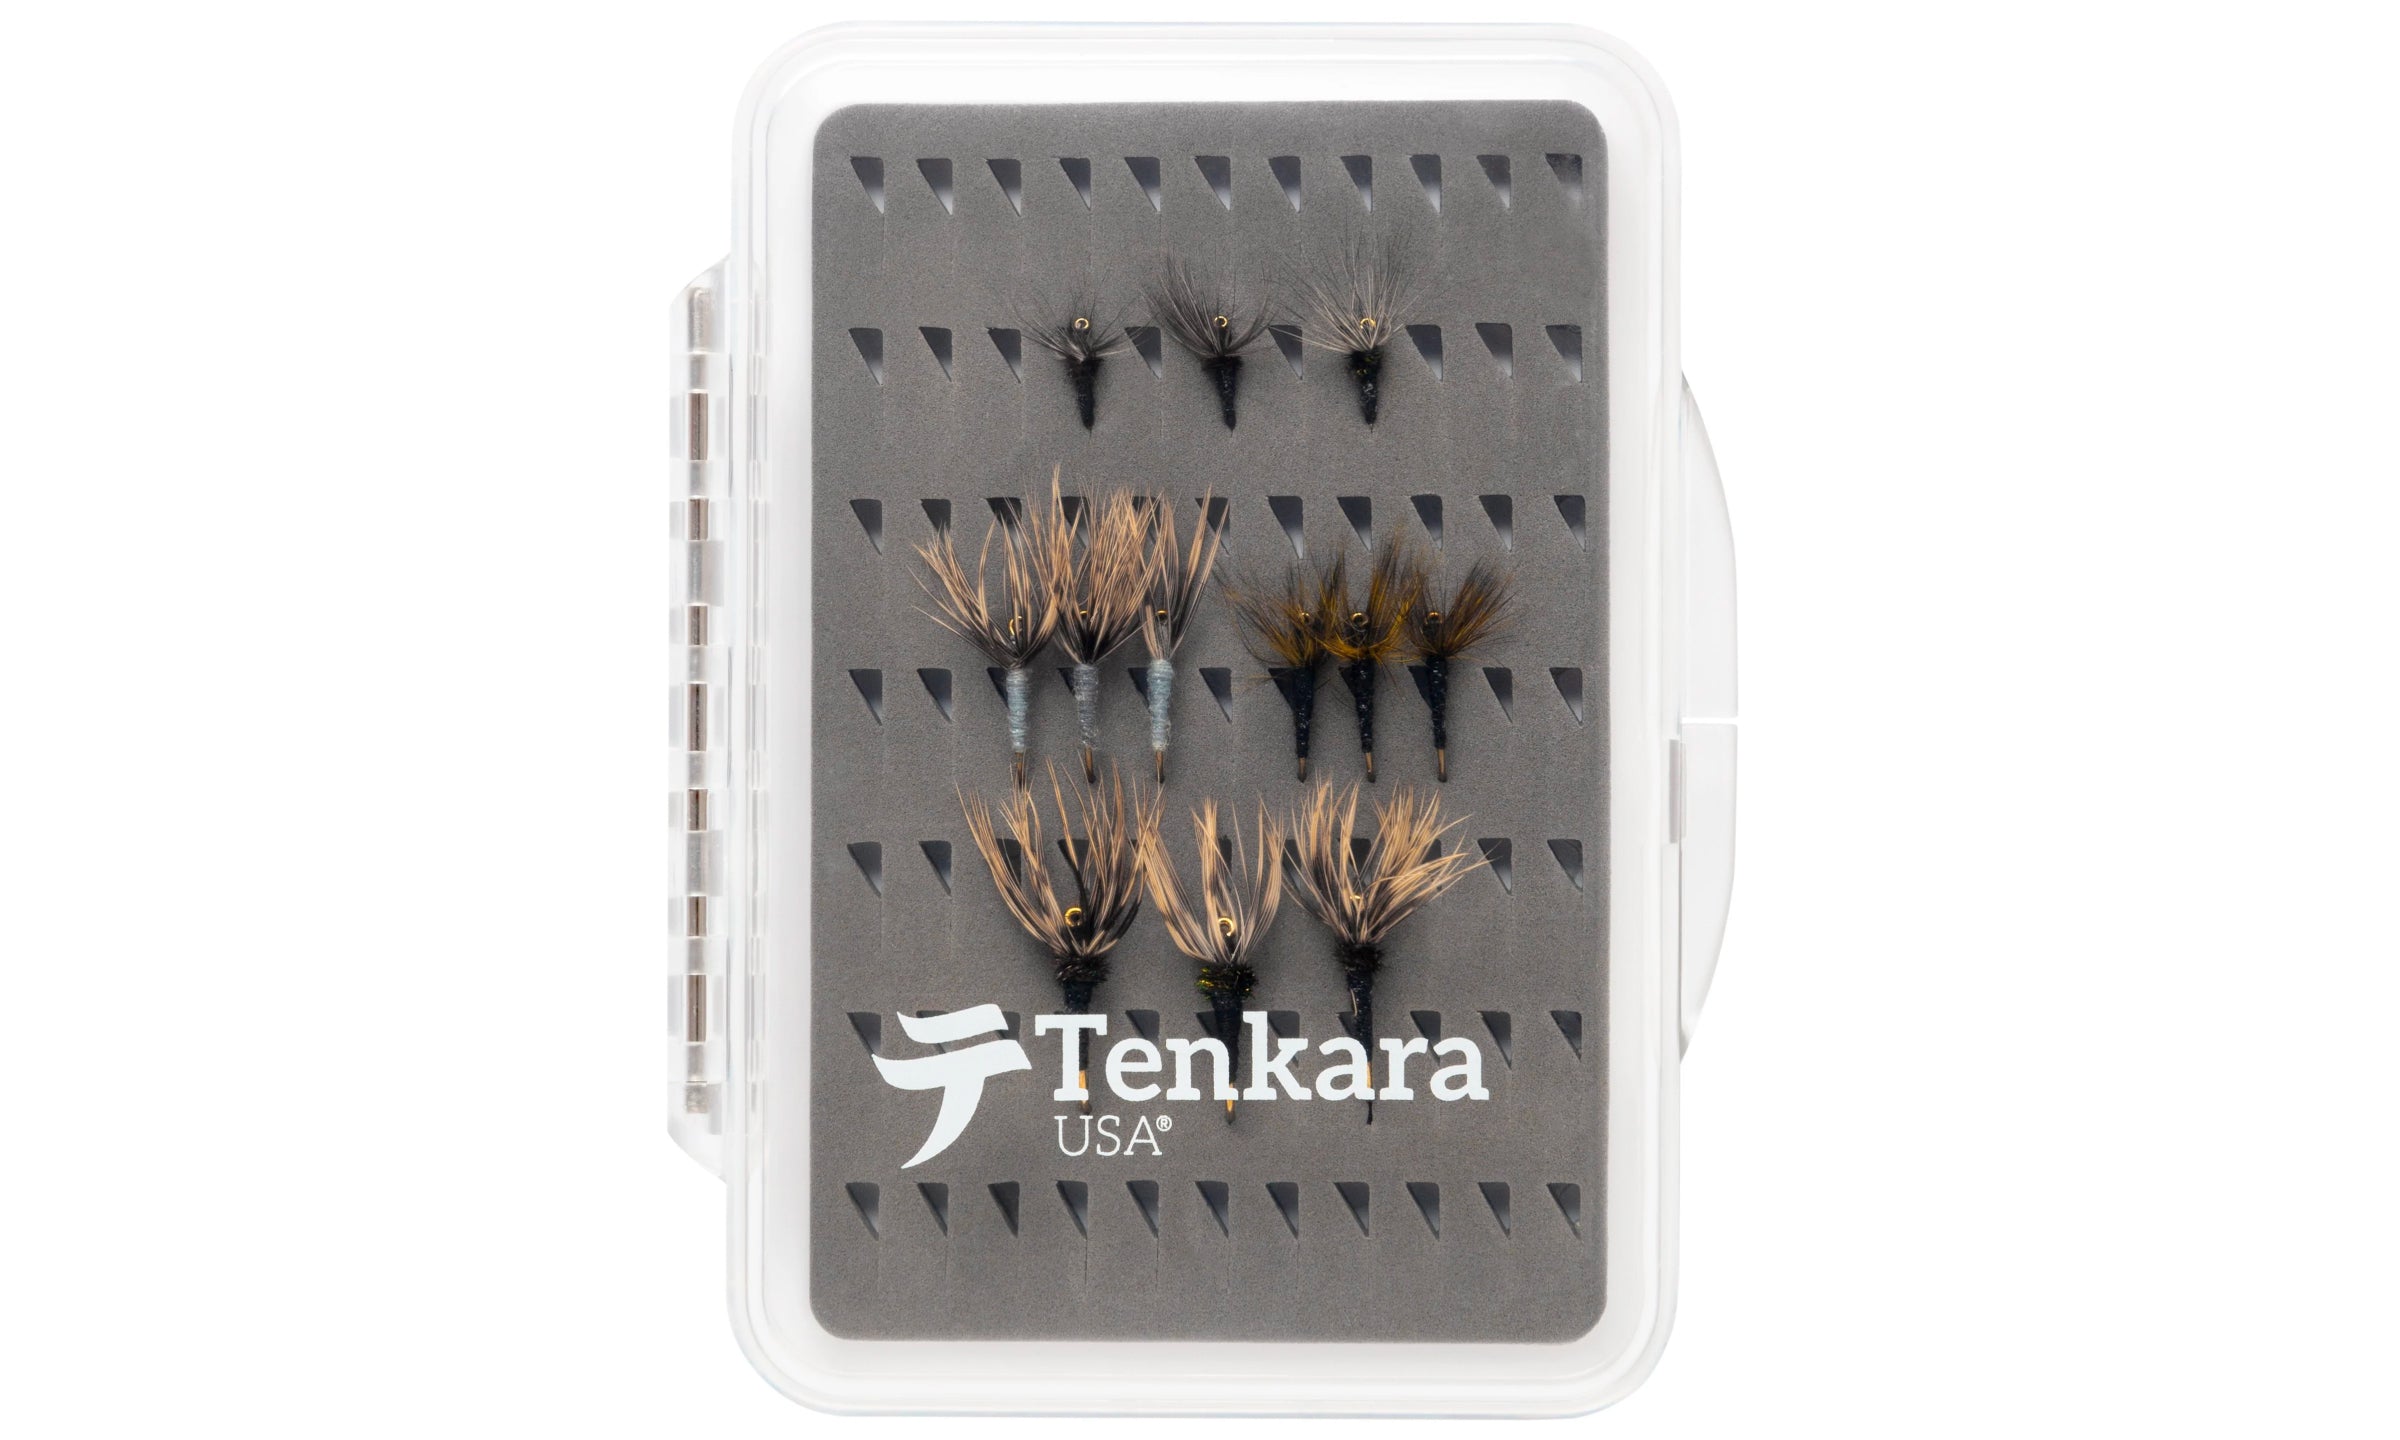
So I went from neck to hand, and I'm going to tie on a dry fly. What dry fly would I choose? Here's the most important part. I'm going to go to a formula again: size, shape, color. You're going to watch the river and see things floating down, these bugs, and you'll see the fish feeding on them. So you pick that size. Then the shape: does that bug have upright wings, or are the wings down? The shape is important. And the color comes finally, at the very end. Size, shape, color.
I'm going to attach this fly with a fisherman's knot, just a good old fisherman's knot. I go five turns and back through the hole. I wet my knot (give it a big old spit) and pull it down, and you're ready to roll. That's your dry fly. That's step one.
STEP TWO: THE DRY-DROPPER RIG
When do we use a dry-dropper rig? Let's go back to this. Say I'm not seeing them come up, but we have shallow water, or every once in a while they come up. Those are the symptoms.
If we see those symptoms, a lot of times we can't use the fly of choice that you see going down the river, because it's way too small. It won't support a subsurface fly. So what I do is tie on a bit of an oversized fly on the very end of the tippet. Good old clinch knot, back through, wet it, pull it, lock and load.
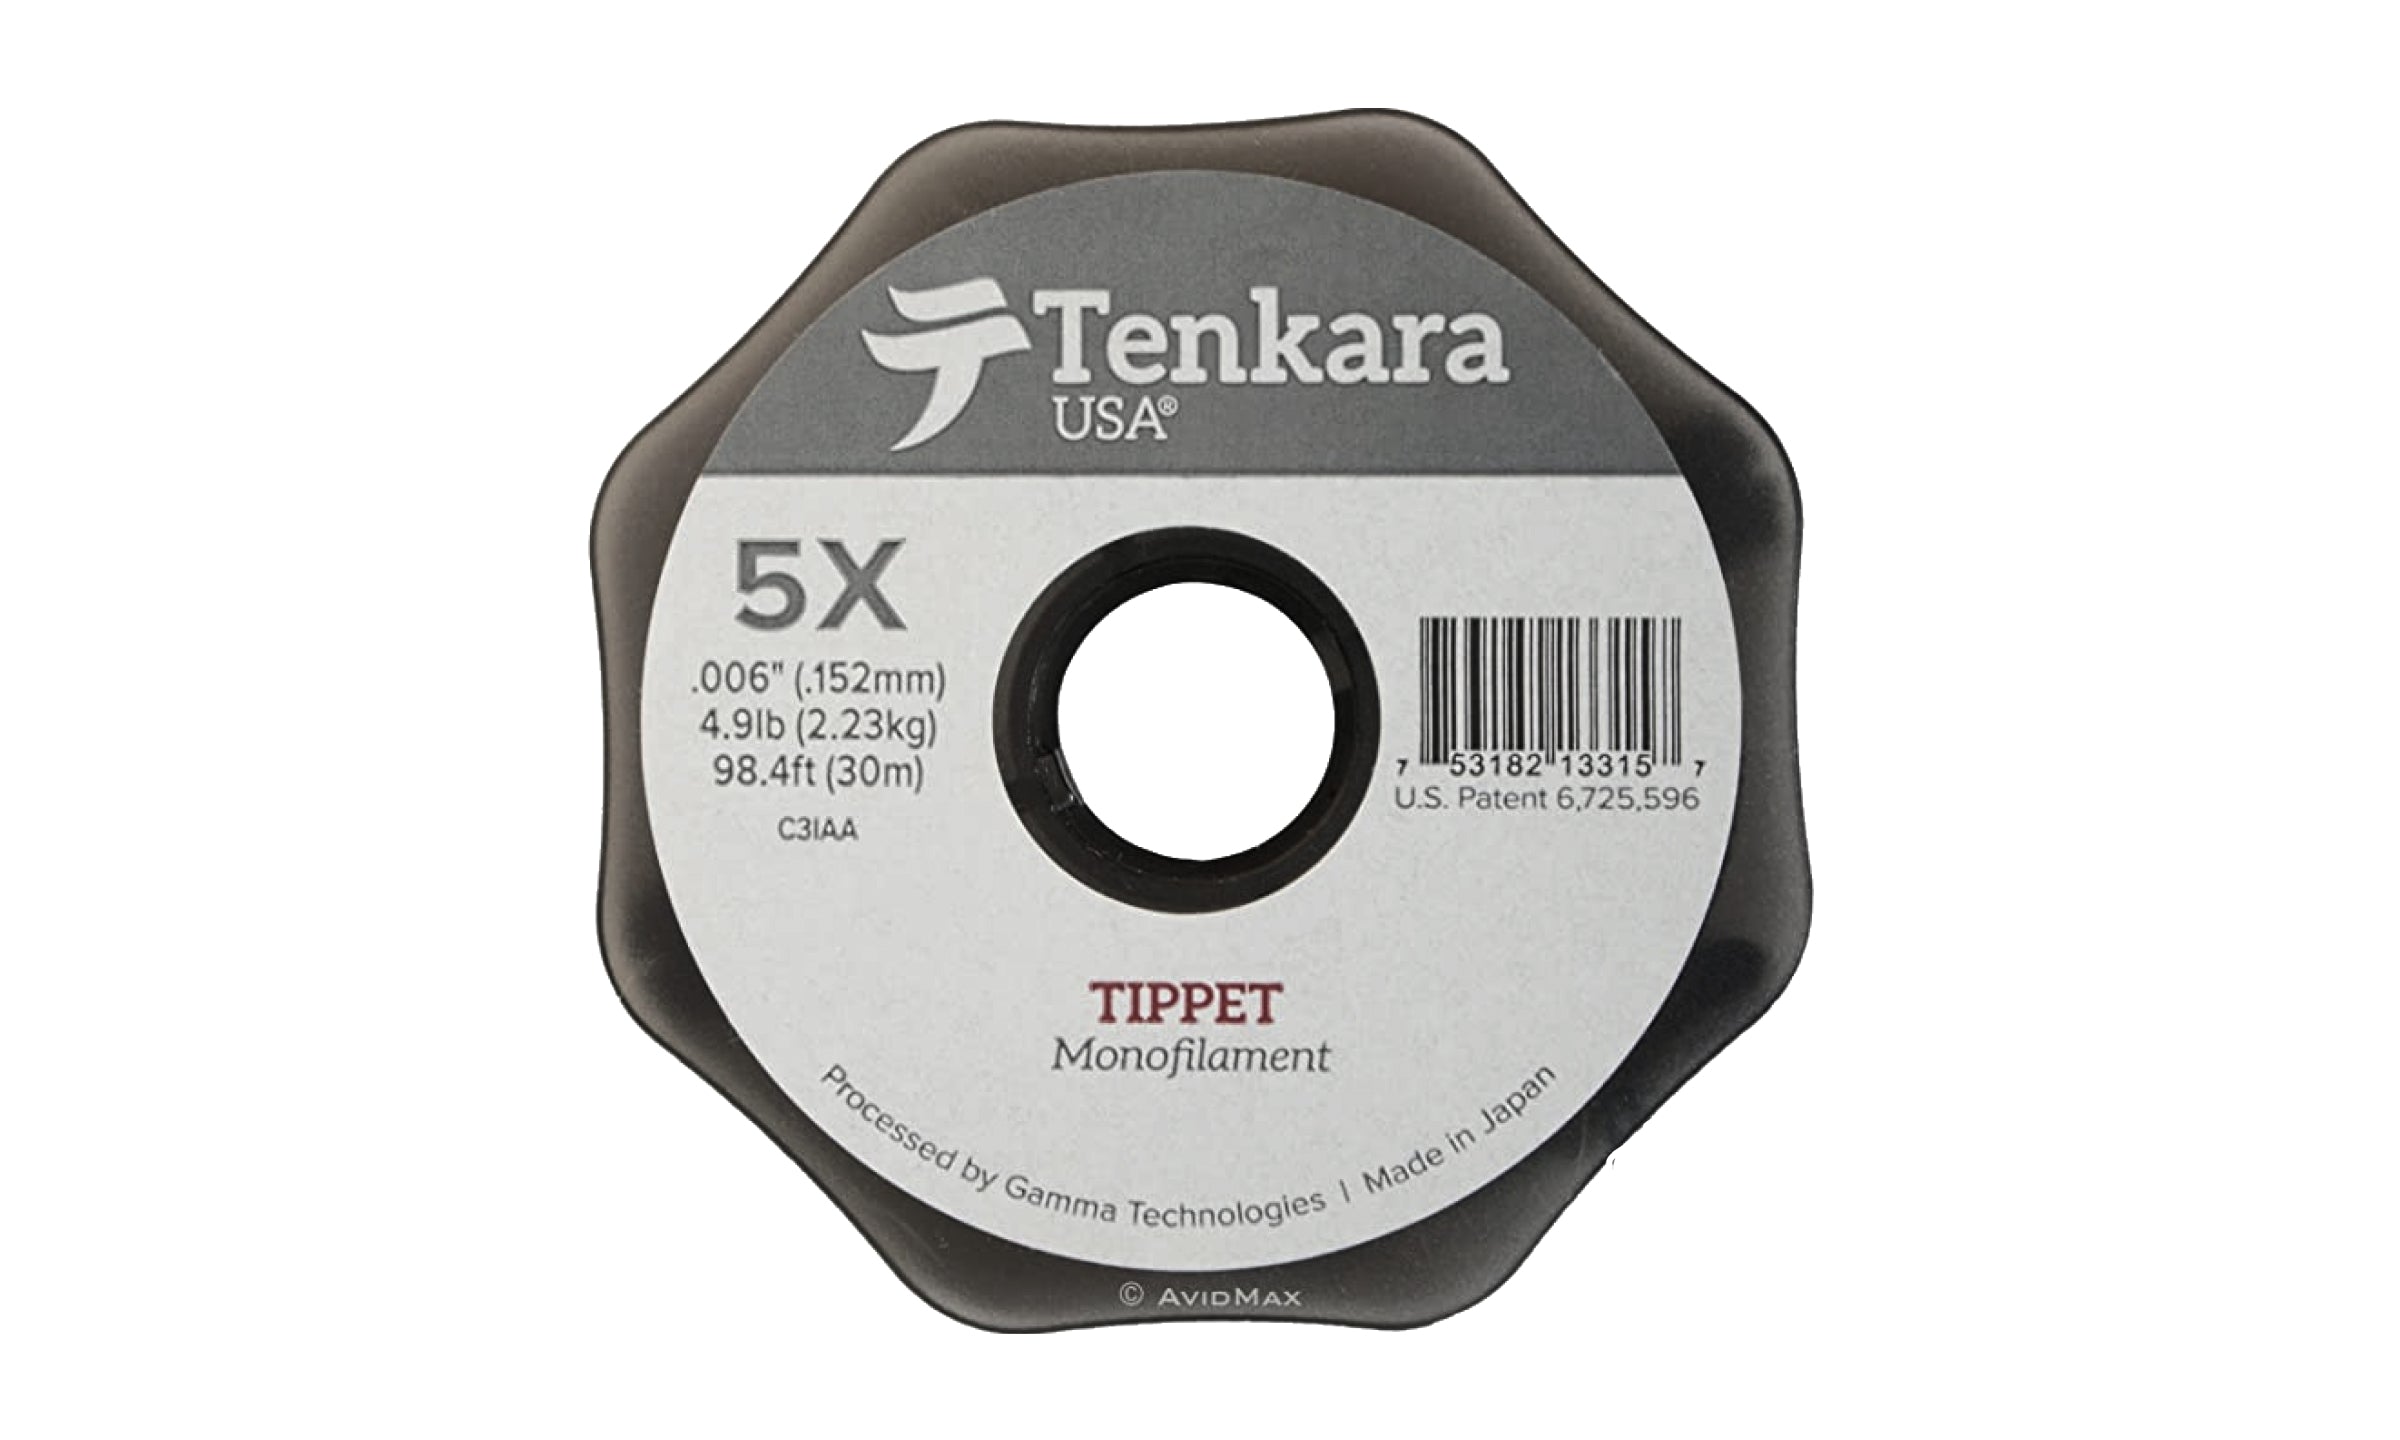
In the guide world we call this the "double meal deal." I have a big old dry fly right now, and I'm going to tie on a piece of tippet. I have 5X on this dry fly, but I'm going to put 6X on the bottom fly. The reason I downscale is this: if you break a fly off, you'll break off the bottom one, not the top one. Here's some 6X, and I'm going to tie right on the bend of the hook. Good old clinch knot, and cinch it down.
Now I have a piece of tippet that's not as thick as the first. It's a little thinner, so I've downscaled it. This dry fly is going to support a nymph. With a dry fly, I wouldn't go any more than two feet. The water column here isn't that deep, as you can see, so I'm going to start out with about a foot of tippet.
Now, Pat, how do I choose my nymph? Well, check this out. I just pulled up this rock, and this rock is literally moving. I know the names of these bugs, but you don't, so here's what you do: size, shape, color. You find all these bugs on this rock. This is the information you need. So go into your box and pick something out that looks just like that.
Same knot: clinch, wet. Got it. I'm going down this far. The dry fly is going to support it.
The symptoms you'll get when you fish something like this: the fly will go down the river hunting for trout, and the trout could come up and eat it. In most cases, in the deep, dark depths, they feel more comfortable feeding. So this beadheaded nymph will be an absolute dirty trick.
That's step two. Step one, dry fly. Step two, dry fly and nymph: the dry-dropper.
STEP THREE: DEEP WATER AND NYMPHING
Now let's say we're in some deep water. We're not seeing any rising fish. Every once in a while we might see nervous water where a fish swoops and eats something subsurface. We're a long way from the fish.
Here's the art of rigging: the rigger must put the fly by the fish's face. If the fish's face is up, go up. If the fish's face is slightly down, go down. If the water's shallow, stay shallow. And if all of a sudden you don't see anything and you're looking at deep, dark water, go down to them.
The easiest way I get folks into rigging is this: look at that piece of water and give it your best shot. That water is this deep. I'd rather have it too deep than too shallow. Then I cut this off and we attach again.
We're going to use that number four knot, the uni. We go around one time, two times, three times, and four. Next, I'm going to tie on another piece of tippet. This is where that splice knot comes in.
If you know there are big fish in a fishery, the formula is to use the lightest tippet possible to catch the biggest fish. Dry fly fishing is a little more selective, so we might go lighter with the tippet. But with nymphing, we really want to put a robust end on that thing.
So I'm going to pull off a couple of feet of tippet and tie a knot called a triple surgeon. I go around and through one time, two times, three times, a lot like that uni knot. I grab this end and this end and pull it nice and tight. That's our splice.
This material I just put on is the best material you can buy. So why don't I use it for everything? Because it's expensive. I use some cheaper stuff as filler. And this is our hunter, the stuff that means everything, right next to the fly.
What I did is leave two little tags here, one thick and one thin. I'm simply going to cut off the thick one and leave the thin one.
If you're going down deep, you need to get deep. We use a couple of things to get deep: heavy flies and weights. A variety pack of weights is the way to go. There are a couple of things that, if you left them at home, you'd want to drive back and get. One is sunglasses. Two is your weights.
I told you the formula for picking your flies is size, shape, color. I'm going to add one more: size, shape, color, weight.
So I'm going to get a fly, a nice heavy dude. That's our clinch knot, and that's back through. I wet it and pull it down. I'm going to use my nippers that are right here, so I don't have to look for them. This fly is going to be our weighted fly.
I keep a tag there, and the tag's cool. I could add another fly. That second fly could give you better chances when you're fishing in that deep, dark zone, or it could add more weight to get you down there. So you have options.
INDICATORS
You can fish without an indicator, which we call Euro nymphing, tight-line, or California high-sticking. Or you can put on a thing called an indicator, which is really a glorified bobber.
The way I do it is this: I look at the piece of water and I look at the weight. I use the smallest indicator possible to support the flies. If I'm going down 20 feet, I'm going to put a big indicator on. If I'm going down four feet, maybe I can use a smaller one.
Here's how it goes on. We double up the line anywhere you want, anywhere. I pull the pin out. There's a white side and a neon side. We go through the white side and push a doubled-up piece of tippet through. Got it. You can see that. Then I get our pin. The pin is square on one side and nice and pointed on the other, so obviously the point goes in there. You put it in softly, flip that loop over the pin, and pull all the slack out. Once the slack is out, seat the pin.
You don't want to leave a long post sticking out. If you leave it really long, it'll act as a counterweight.
So what we're saying here is that the water is this deep, and we're going to throw our flies in there. This is a kind of special indicator: it tells you if the flies are below it. When you throw in a river, you want to allow the flies to sink and get that indicator working. That tells you you're in the zone. If the indicator isn't working, then we need to add weight. And if it feels like you're seeing ticks, it seems like you're too long.
So this is a really cool way to find depth, find weight, and get those flies into the deep, dark zone.
Featured in this episode
Shop the episode
Keep watching
More from the Tenkara Masterclass
JOIN OUR COMMUNITY
Welcome
Get new Masterclass episodes, tenkara tips and exclusive sales in your inbox.