Tenkara Masterclass / Episode 2
Getting Ready to Fish: Rod Rigging & Choosing Your Line
- 10 min
- Taught by Pat Jaeger
- With Fish the West Films
-
Link copied to clipboard
- Watch on YouTube
- Subscribe on YouTube
Tenkara rigging doesn’t need to be complicated.
In Episode 2 of the Tenkara Master Class, Pat Jaeger takes us through his simple approach to building and maintaining a Tenkara setup—from choosing the right level line to getting the rod rigged and ready to fish. After experimenting with nylon, Kevlar, braided, monofilament, wind-cutter, and other line systems, Pat came back to one of the central ideas behind Tenkara: keep it simple. He explains the differences between 2.5, 3.5, and 4.5 level line and why he recommends starting with the heavier, easier-to-cast and easier-to-see options.
From there, Pat demonstrates his “1-2-3-4” method for rigging a Tenkara rod—attaching the level line to the lillian, measuring the line to the rod, creating a stopper knot, and connecting the tippet with his preferred splice knot. He also shows how he stores his line when the rod is collapsed and reinforces an important part of his approach to Tenkara: there isn’t always one “correct” way. Learn the fundamentals, experiment, and find a system that works for you.
Finally, Pat walks through something every Tenkara angler should know—what to do when you break a rod section. He demonstrates how to disassemble the rod, identify the broken section, replace it, reassemble the rod, and test the repair before heading back to the river.
Read the full transcript
TENKARA RIGGING AND ROD REPAIR WITH PAT JAEGER
INTRODUCTION
Morning, guys. Pat Jaeger here. We're at Hot Creek Ranch. Beautiful, beautiful morning, nice and crisp. We're going to be fishing with a stick with a string on the end. We're going tenkara today. Let's get into rigging.
CHOOSING A LINE
We have different lines. I went in depth with all of these: nylon lines, Kevlar lines, braided lines, tenkara monofilament lines, wind cutter lines. And what happened to me was I found myself going, "Hey, man, I'm trying to teach something simple, and this is really complex." So let's just make it easy. Let's just do level lines.
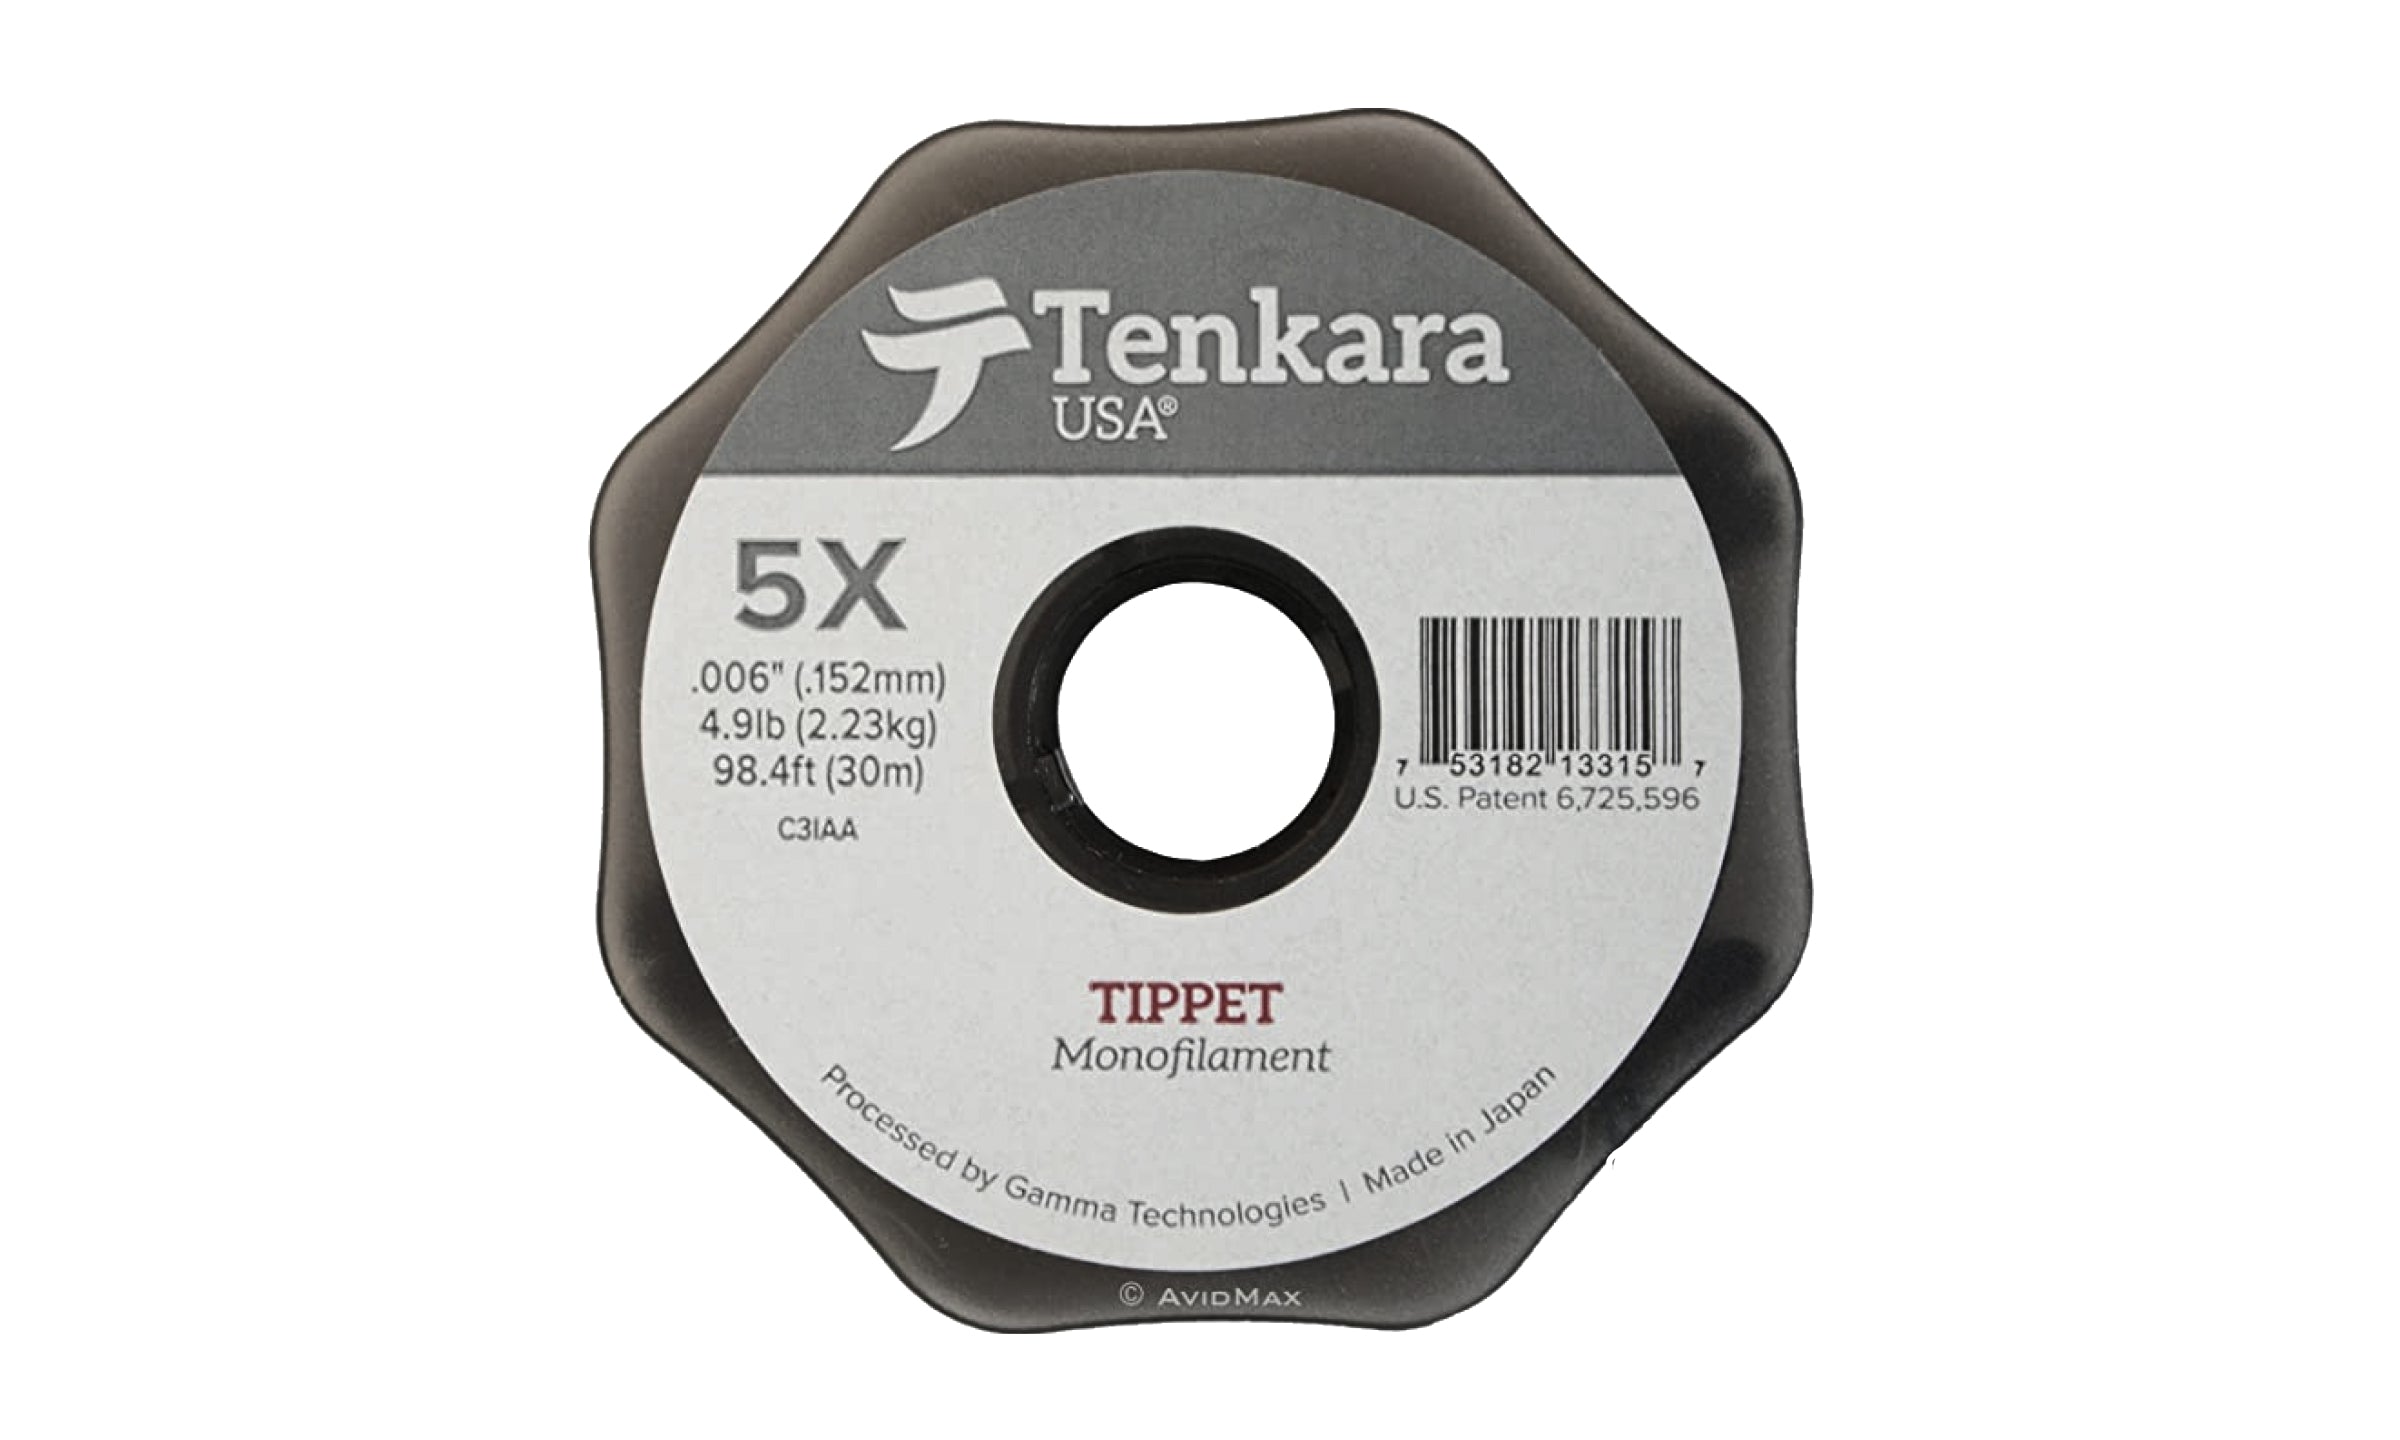
Level lines come in three different diameters: 4.5, 3.5, and 2.5. It's really important to understand that the 4.5 is the thickest diameter and the 2.5 is the smallest. I highly recommend 4.5 or 3.5 to start out with. They're easier to cast and easier to see. The 2.5 is maybe a little advanced, but the 4.5 will be really good for nymphing and doing everything we do.
Let me show you how to do it. I'm going to get the end of this line and measure out the 4.5: one of me, two of me. I'm about 5'10" and a little bit extra.
Don't use your teeth.
THE ONE-TWO-THREE-FOUR METHOD
I want to teach you the one, two, three, four method of rigging. Right now, I'm taking the memory out of this line. This is what we cast, this beautiful floral-colored line. It doesn't have much memory.
Here's the first thing: how do we attach this? Let's do the one, two, three, four method.
Knot One. All I'm going to do is tie an overhand knot. Then I'm going to do another one, just one overhand knot, but I'm going to make a loop like this and take one lap around it. It'll look just like this. So that's our one.
Knot Two. I get the rod, delicately put it in my arm, tip it down a little bit, and grab this little worm. We're going to go around two times: one time, two times. Then we just pull it. It's super funky. It took me years to read the instructions, and I did it wrong, totally. Why do you have it like this? So we can take it apart. Why would you need to take it off? Because sometimes we get tangles. We need to take this off, clean it up, and then put it back on again, folks. It all makes sense, even though it's funky. It's all different from what we do as Western fly fishermen. The knot itself is called an arbor knot. So that's one and two.
Setting the length. Now I roughly measure the length. I'm going to extend the rod just like we did yesterday, methodically. This is part of our ritual. I'm looking up and making sure I'm going diagonally up, so I'm not going to hit a ceiling fan or your buddy's eyeball. Then I tip the rod up and check how I did for length. I want the line to be roughly as long as the fly rod. I'm a little long, and that's okay.
Knot Three. We did the one and the two, and now I have my length, so I'm going to do the three: another overhand knot, the exact same knot. One, two, three. I grab my forceps, and I really like this knot tight, so I tighten it up really well. Then I get my nippers (no teeth) and cut it. You have a nice little knob at the end.
Knot Four. Now let me put a piece of tippet on. I roughly pull out an amount of tippet. I want to have more than I need. I'm going to have this line going one way and the tippet going the other way. I overlap the two, wet them, and flip this clear section into a loop. Then I go through four times: one, two, three, four. There are a lot of ways to skin a cat. Always wet your knot, but this is the way I skin it. Then we pull that piece down, and that knot is going to hold. Trim the excess.
So knot number three, the knob knot, is a stopper knot, and number four is your splice knot. When I tie that knot, I like my line going down. All the other knots I saw made the line go across. It doesn't make you catch any more fish. It just makes me feel better, that's all.
Here's what I do next: I go from neck to hand. Cut it off. I'm done. Ready to go fishing.
STORING THE LINE
I'm going to collapse this rod. There are all kinds of ways to put this line away, and I have my way. What I do is clip this on, wrap the line around, and hook that little piece underneath. This makes sense to me. I'm ready to rock. I put it under my hip and I'm going.
There are spools that people wrap the line around and put on. Master Uni from Japan would take the line off the rod and put it away. All of that is what you do. There are no rules to this. Use your own imagination and try to do something that works for you. This is what I do.
WHEN YOU BREAK A ROD
When you break a fly rod, take a breath, relax, grab all the pieces, find out what you need, and take your time.
I have the cap on. The bottom is right here, and we're going to unscrew it. Be careful here. Put the cap in a safe place. Then you pour out all the pieces. My truck's kind of cool: it has a spot where I put these pieces. You'll notice I'm putting them nice and straight, not turning them the wrong way. Put them in a place where your pieces won't roll away.
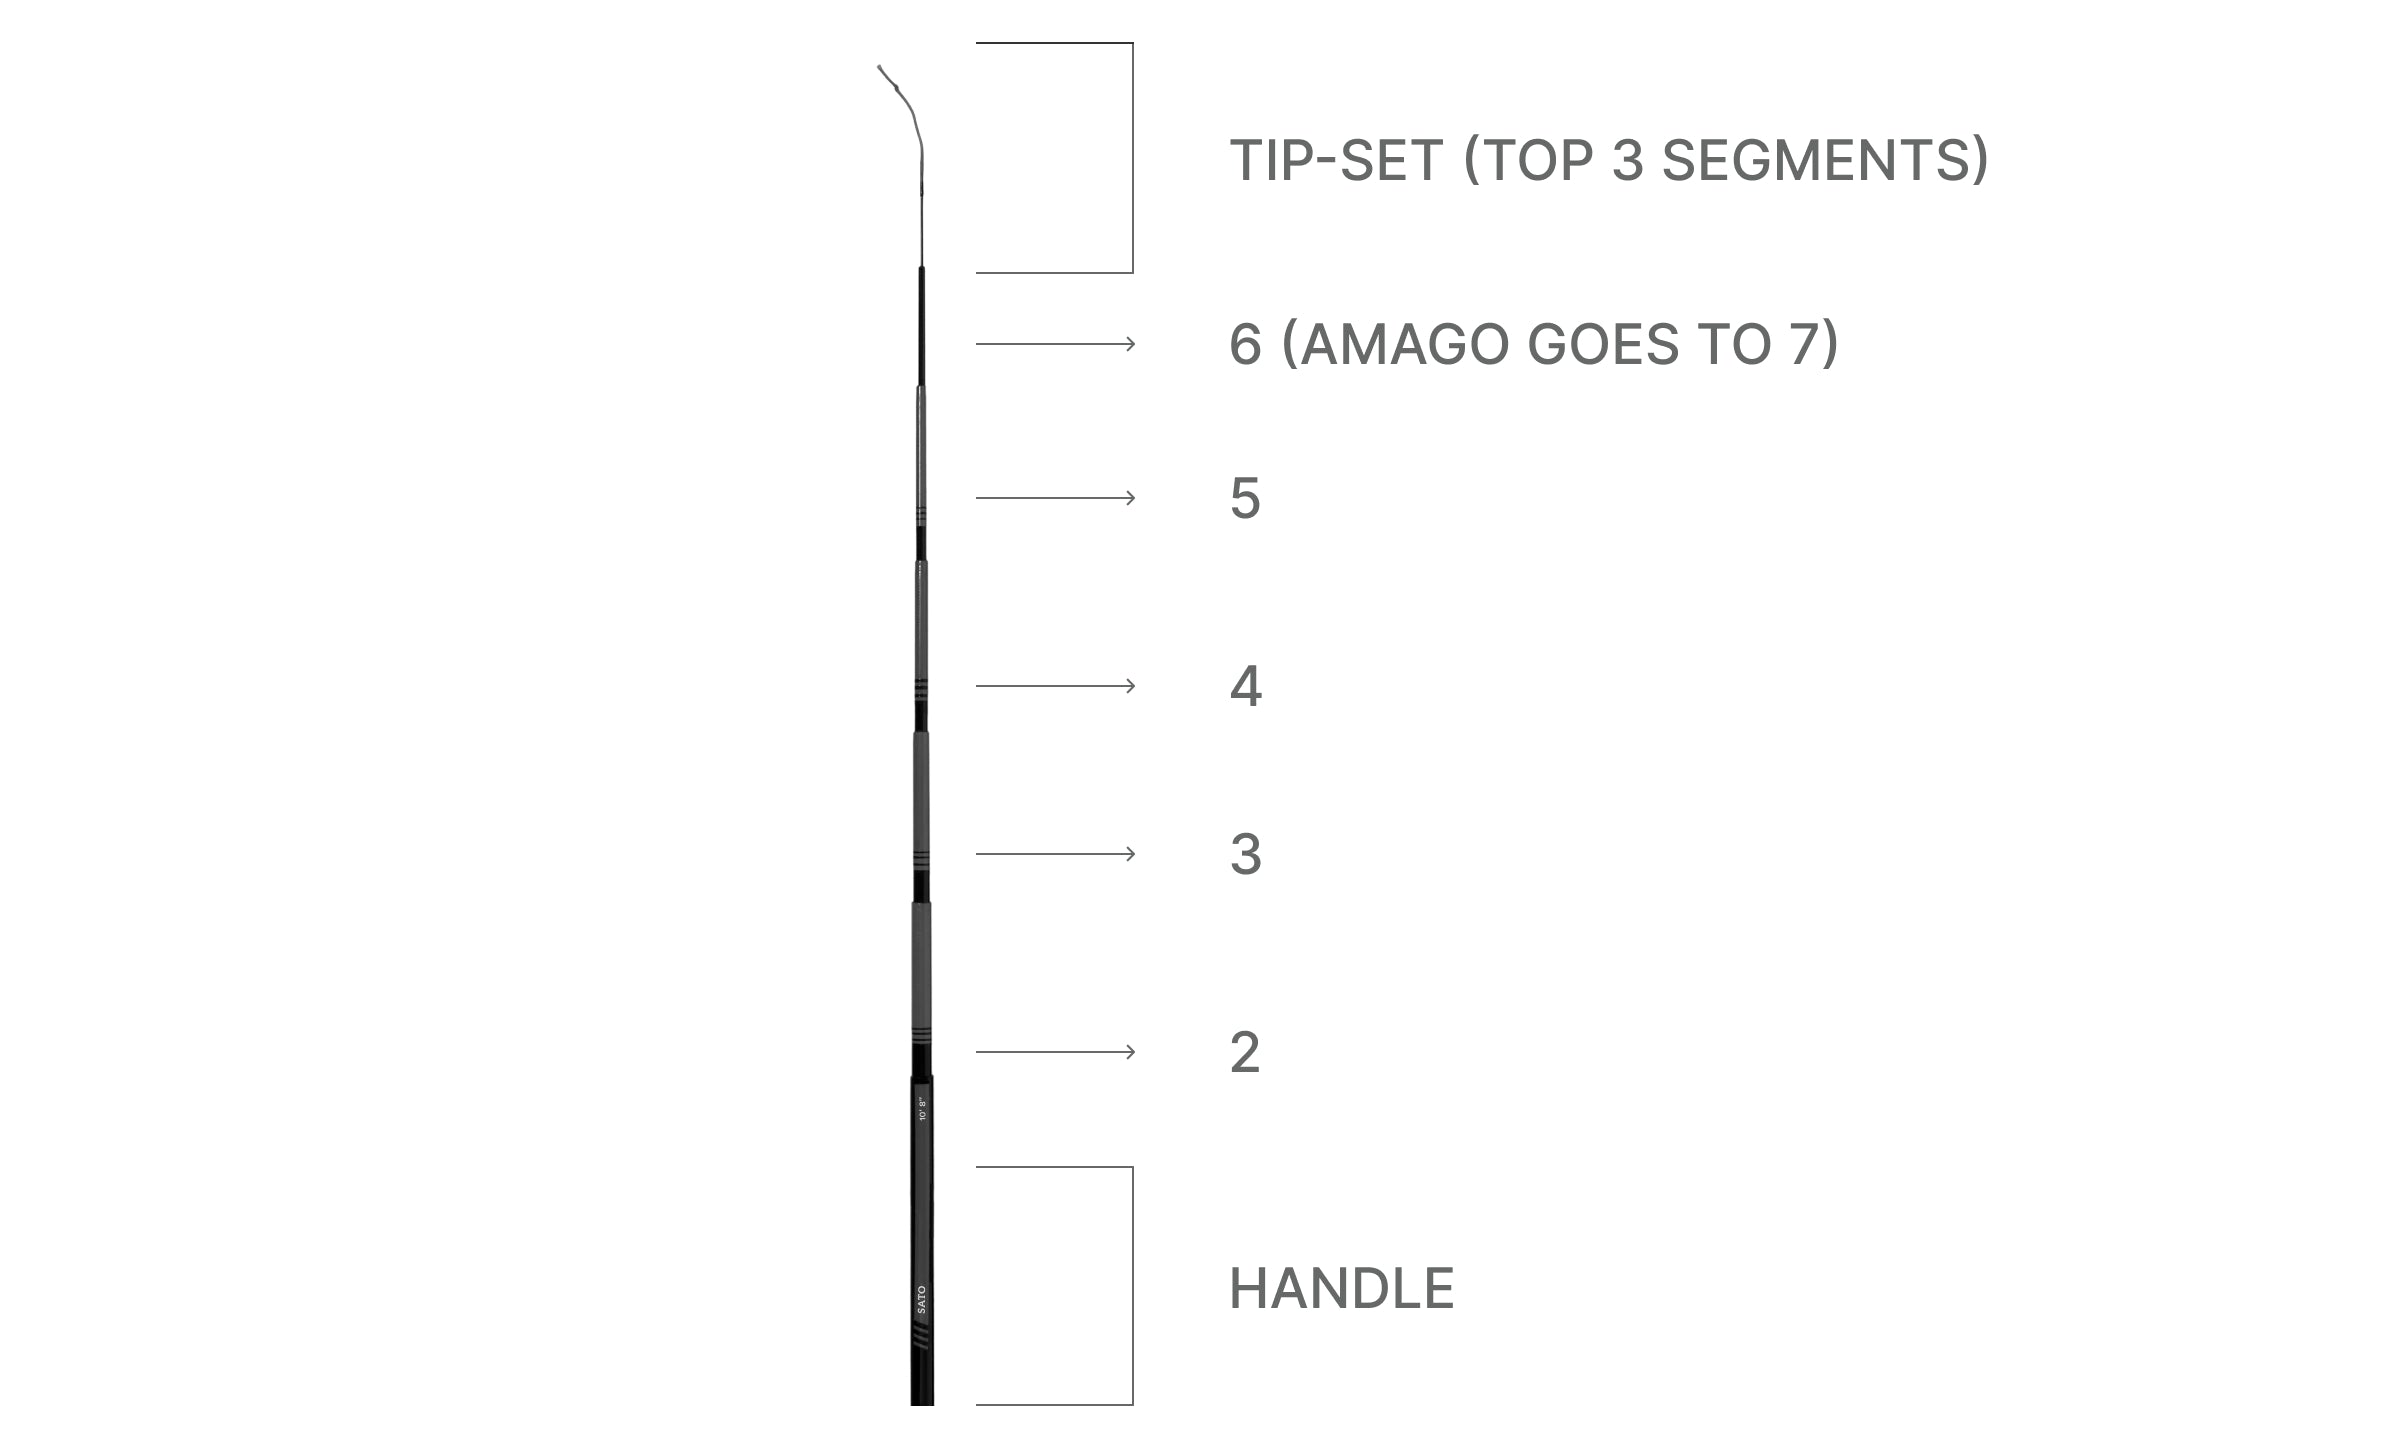
Here's your tip set. If it's a tip set, you can just go ahead and replace it. Say I broke this piece right here. This is how I do it. I take this away and count: one, two, three, four. I broke piece five. That's what you'll say when you call in for a warranty: "I broke piece five." They're going to send you something like this. Look at the way it's colored and make sure it's upright.
Once you've replaced that piece, test it on the tailgate, not on the river. Simply put it back together in reverse. I pull the Lillian all the way down and then insert it through. There we go. We just reverse it, y'all. The cap goes on.
I'd sure like to test this, though, and I'm going to do my testing at my tailgate. I'm not going to rock-walk down the river and test it there. I'm going to check it right now. Put your cap on nice and snug, then pour it down and make sure everything fits right.
Got it. Quit your wishing. Let's go fishing.
Featured in this episode
Shop the episode
Keep watching
More from the Tenkara Masterclass
JOIN OUR COMMUNITY
Welcome
Get new Masterclass episodes, tenkara tips and exclusive sales in your inbox.